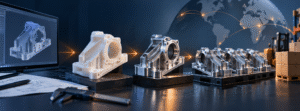
Rapid prototyping is the fast production of a physical part directly from a CAD file, without building any dedicated tooling first. It uses tool-less processes — 3D printing, CNC prototype machining, and vacuum casting — to turn a digital design into a real, testable part in days rather than the weeks or months that production tooling requires. The goal is speed of iteration: make a part, test it,改 the design, and make it again, cheaply and quickly, before committing to expensive production.
Rapid prototyping exists because the most expensive mistakes in product development are the ones caught late — after a mold is cut or a production run has started. By putting a physical part in an engineer’s hands early, rapid prototyping catches design flaws while they’re still free to fix and lets a design improve through several fast cycles before any tooling is committed. This guide explains what rapid prototyping is, how the process works step by step, the main technologies and how they differ, the materials involved, and what it’s actually used for.
It’s written from a shop that prototypes every day. Manufyn’s rapid prototyping service runs from an ISO 9001 certified, strictly in-house facility in Pune, India — so the explanation below is grounded in how parts are actually prototyped, not a textbook definition.
What Does Rapid Prototyping Mean?
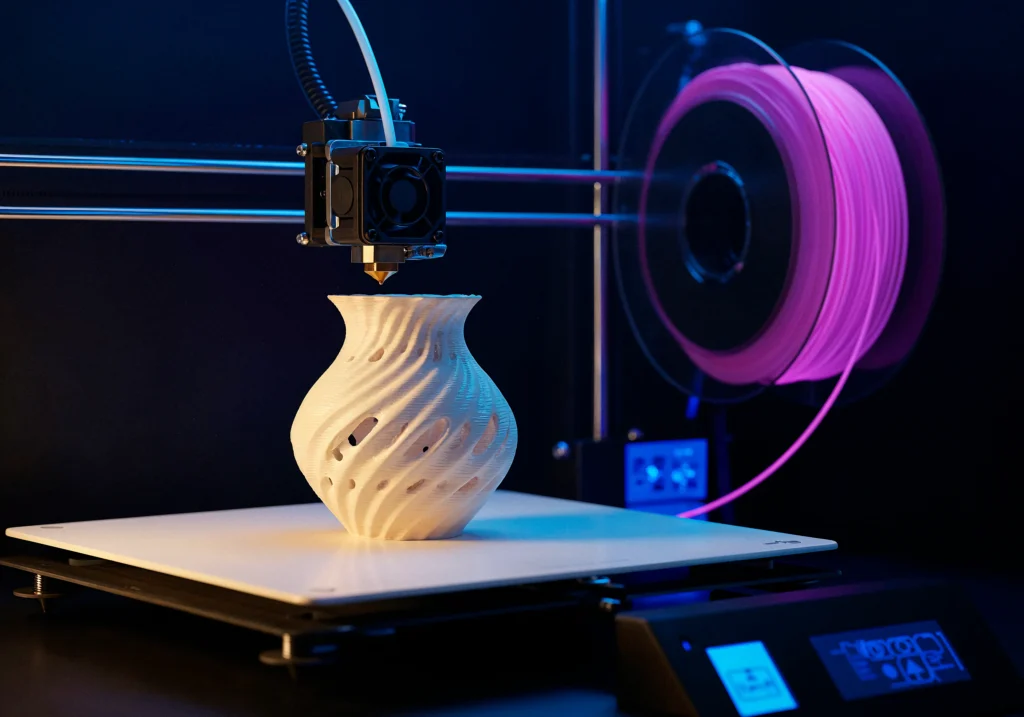
Rapid prototyping means making a part straight from a digital model with no tooling step in between. That “no tooling” part is what makes it fast — and what makes it iterative.
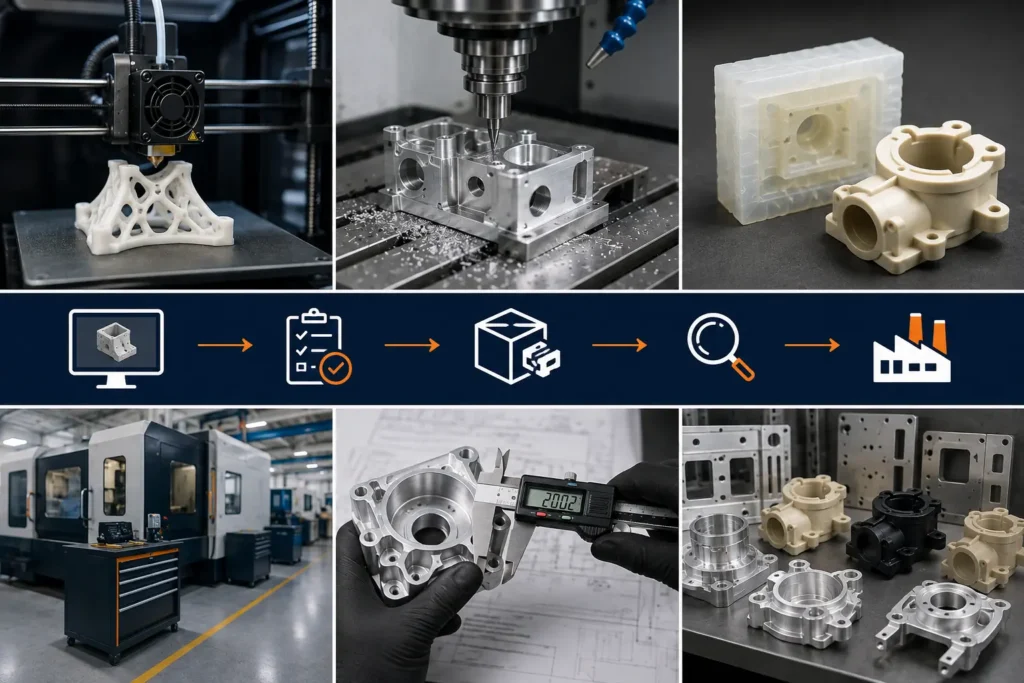
The defining feature of rapid prototyping is the absence of dedicated tooling. In traditional manufacturing, making a part means first designing and building a mold, die, or fixture — an expensive, weeks-long step that only pays off across thousands of units. Rapid prototyping skips it entirely: the CAD file drives the machine directly, whether that’s a 3D printer building the part layer by layer, a CNC machine cutting it from solid stock, or a silicone mold casting a small batch. Because there’s no tooling to design and pay for, a first part can exist in one to ten days, a design change costs almost nothing, and an engineer can go through several improved versions in the time it would take to build a single production mold. That speed of iteration — not any single technology — is what rapid prototyping actually is.
How Does the Rapid Prototyping Process Work?
Rapid prototyping follows a simple, repeatable loop — and the loop is the point, because a design usually goes around it more than once.
| Step | What happens |
|---|---|
| 1. CAD design | The part is modelled in 3D CAD software |
| 2. Process selection | 3D printing, CNC, or casting chosen to suit the part and purpose |
| 3. Prototype production | The part is built directly from the file, no tooling |
| 4. Testing & evaluation | Form, fit, and function checked against the design intent |
| 5. Iterate or advance | Refine the CAD and repeat, or move toward production |
The loop from step 5 back to step 1 is what makes prototyping powerful: each cycle turns a flaw into a fix, and because a cycle takes days rather than weeks, a design can be genuinely refined before any tooling is committed. Our guide to the rapid prototyping process walks each stage in more depth.
What Are the Main Rapid Prototyping Technologies?
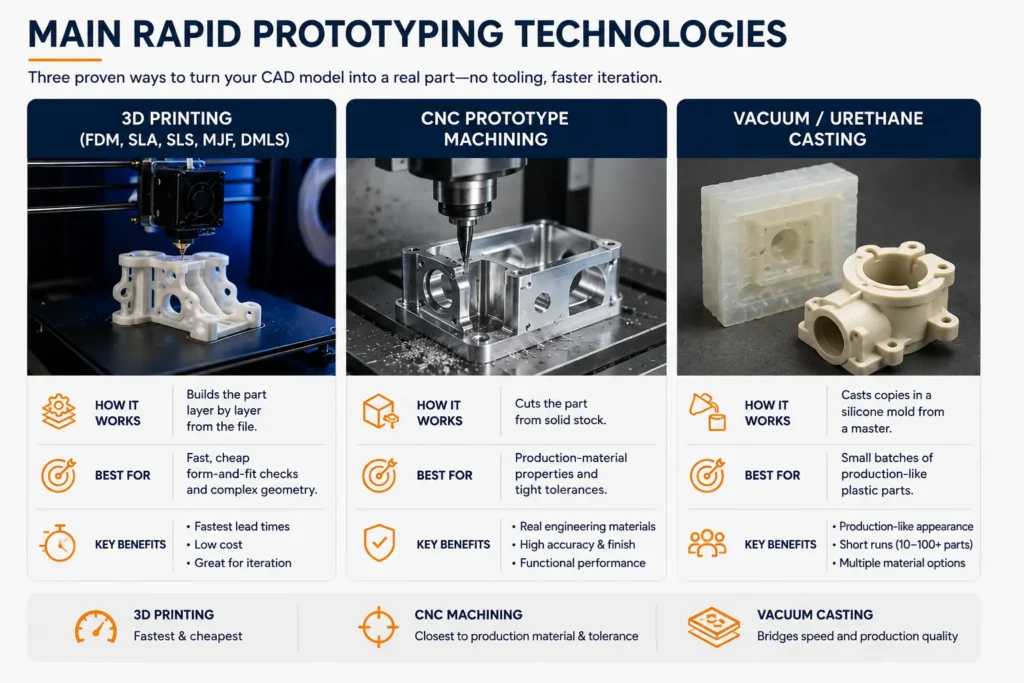
Three families of technology cover most rapid prototyping. The one you pick changes the trade-off between speed, cost, and how close the part gets to production.
| Technology | How it works | Best for |
|---|---|---|
| 3D printing (FDM, SLA, SLS, MJF, DMLS) | Builds the part layer by layer from the file | Fast, cheap form-and-fit checks and complex geometry |
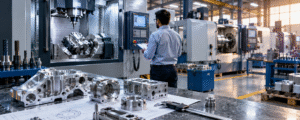
| CNC prototype machining | Cuts the part from solid stock | Production-material properties and tight tolerances |
| Vacuum / urethane casting | Casts copies in a silicone mold from a master | Small batches of production-like plastic parts |
The short version: 3D printing is fastest and cheapest but its materials usually approximate production; CNC gets closest to real production material and tolerance; and vacuum casting bridges the two for small batches. See our guides to 3D printing for prototyping and CNC rapid prototyping, or the full breakdown of rapid prototyping types.
What Materials Are Used in Rapid Prototyping?
Rapid prototyping spans a wide material range, and matching material to purpose is what makes a prototype genuinely useful rather than just a shape to look at:
- Prototyping plastics: ABS, PLA, nylon, and resins for 3D-printed form-and-fit parts and visual models.
- Production-grade plastics: ABS, polycarbonate, POM, and PP machined or cast when production-representative properties matter.
- Metals: aluminium, steel, and titanium via CNC machining or metal 3D printing for functional metal prototypes.
- Elastomers: rubber-like urethanes and TPU for flexible parts, seals, and grips.
The key distinction is whether a prototype only needs to look and fit right, or actually needs to behave like the production part under load or in its environment — the latter pushes you toward CNC in the real material. Our rapid prototyping material guide covers the selection in full.
Have a design ready to prototype? Send Manufyn your CAD file — free DFM review, the right process matched to your part, and a prototype quoted within 24 hours. No minimum order.
What Is Rapid Prototyping Used For?
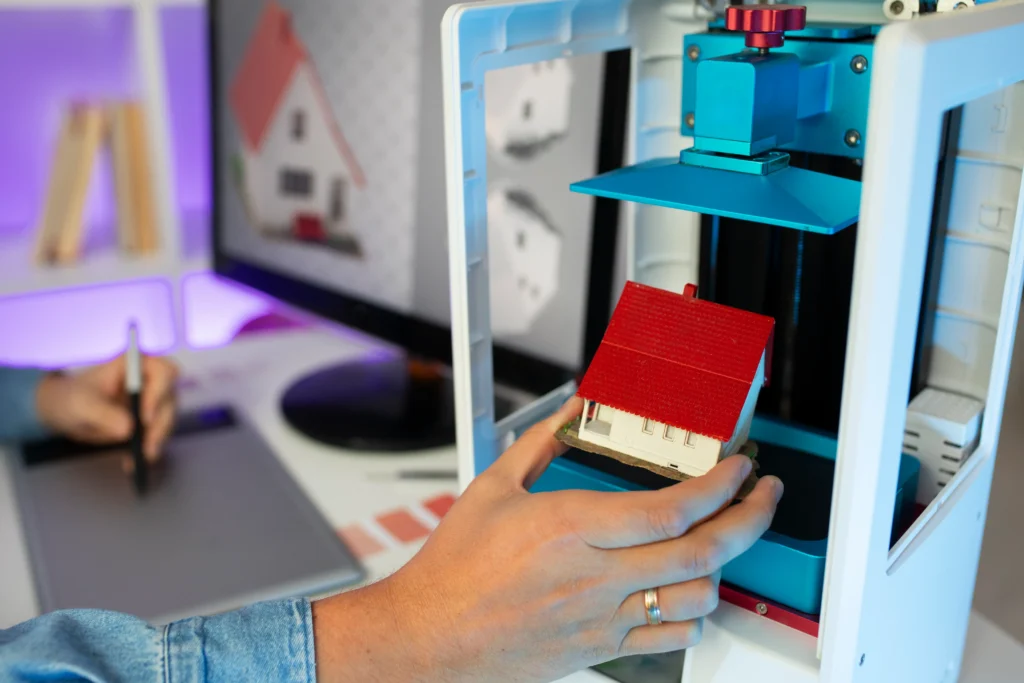
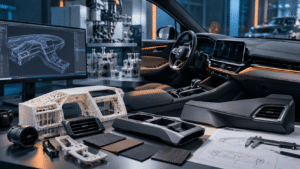
Rapid prototyping is used anywhere a physical part beats a drawing — to validate a design, prove it works, show it, or make a small batch before tooling.
- Design validation — checking form, fit, and function before committing to tooling
- Functional testing — proving a part performs under real conditions
- Investor demos, trade shows, and marketing samples
- Low-volume production — small batches where tooling isn’t yet justified
- Design iteration — refining a product across several fast cycles
Our guide on what rapid prototyping is used for and real rapid prototyping examples cover these applications in depth.
Rapid Prototyping vs Traditional Manufacturing
Rapid prototyping and traditional manufacturing aren’t competitors — they’re different stages. Rapid prototyping validates a design cheaply and quickly with no tooling; traditional manufacturing produces the validated design at volume with dedicated tooling and a far lower cost per part. A product typically starts in rapid prototyping and graduates to traditional manufacturing once its design is proven and its volume justifies the tooling investment. Choosing between them for a given part comes down to volume, how settled the design is, and cost per part — which we work through with a full cost-crossover calculation in our dedicated rapid prototyping vs traditional manufacturing guide.
How Manufyn Delivers Rapid Prototyping
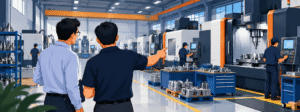
Manufyn is an ISO 9001 certified, strictly in-house manufacturer in Baner, Pune — not a broker. Prototyping and production run under one roof, so a validated prototype moves into production without changing suppliers.
Manufyn produces prototypes by 3D printing, CNC machining, and vacuum casting, and because production runs in the same facility, a part can move from a first prototype into bridge tooling and full production without re-sourcing or re-sending drawings under a new NDA. Every prototype starts with a free DFM review that flags issues before the part is made, and there’s no minimum order — a single prototype is quoted the same way as a batch.
- 3D printing, CNC prototype machining, and vacuum casting in-house
- Free DFM review on every prototype before it’s made
- A clear prototype-to-production path under one roof
- No minimum order, NDA before drawings, prototype quoted in 24 hours
See documented results in our case studies, or read more on Why Manufyn.
Ready to turn your design into a physical part? Send your CAD file to Manufyn — the right prototyping process, a free DFM review, and a quote within 24 hours.
FAQs
Rapid prototyping is making a physical part quickly, straight from a 3D CAD file, without building any tooling first. It uses processes like 3D printing, CNC machining, and vacuum casting to produce a testable part in days, so a design can be checked and improved before committing to expensive production tooling.
It follows a loop: model the part in CAD, choose a process (3D printing, CNC, or casting), produce the part directly from the file with no tooling, test its form, fit, and function, then either refine the design and repeat or advance toward production. The fast repeat cycle is what makes it valuable.
The three main families are 3D printing (FDM, SLA, SLS, MJF, DMLS) which builds parts layer by layer, CNC prototype machining which cuts parts from solid stock, and vacuum or urethane casting which casts small batches from a silicone mold. 3D printing is fastest, CNC is closest to production properties, and casting bridges the two.
3D printing is one technology used within rapid prototyping, not a synonym for it. Rapid prototyping is the broader practice of making parts quickly without tooling, and it also includes CNC prototype machining and vacuum casting. 3D printing is often the fastest and cheapest rapid prototyping method, but not always the right one.
A wide range: prototyping plastics like ABS, PLA, nylon, and resins for 3D printing; production-grade plastics like polycarbonate, POM, and PP when properties matter; metals like aluminium, steel, and titanium via CNC or metal printing; and elastomers like TPU for flexible parts. The choice depends on whether the prototype only needs to fit or actually needs to perform.
It’s used for design validation (checking form, fit, and function), functional testing, investor demos and trade-show samples, low-volume production before tooling is justified, and design iteration across several fast cycles. Essentially anywhere a physical part is more useful than a drawing early in development.
A first prototype typically takes one to ten working days depending on the process and part — 3D printing is fastest, CNC and vacuum casting take a little longer. Because there’s no tooling to build, each design iteration is measured in days, not the weeks or months production tooling requires.
Sometimes, in low volumes. CNC-machined prototypes in the actual production material can often ship as-is for small runs. Most 3D-printed parts are not production-representative unless the material is specifically chosen to match production properties. For larger volumes, a validated prototype usually graduates to tooled production.
Have a specific part in mind? Send your CAD file to our engineers — we respond within 4 working hours.
Ready to prototype your part?
Send a CAD file — get the right process, a free DFM review, and a firm quote in 24 hours, with no minimum order.
Talk to Manufyn